
SLDS Vue.js App - Make it, Build it, Ship it

Oh boy, here we go again!
Situation?
I am working on some R&D project which should essentially become tool for Salesforce.com platform. Hence, I would like to use Salesforce Lightning Design System (SLDS), however, this time I am looking for very lightweight framework which should be possible to serve on any http server (being it nginx, node.js or deno).
In addition to being lightweight it should also support TypeScript out-of-the-box, be able to write component in split manner (MVC) as well as have easy setup.
For this purpose I've chosen Vue.js. Unfortunately, my skill with full-stack development is not great and I haven't been able to find any guide how to wire everything together, and for that reason I am writing this guide.
So... How?
This guide assuming you have node.js, yarn and vue-cli installed.
First we create Vue.js app using vue-cli.
vue create slds-vue-app
This will open wizard where we can go with default preset or choose our own. We will go with custom and pick a goodies which we would like.
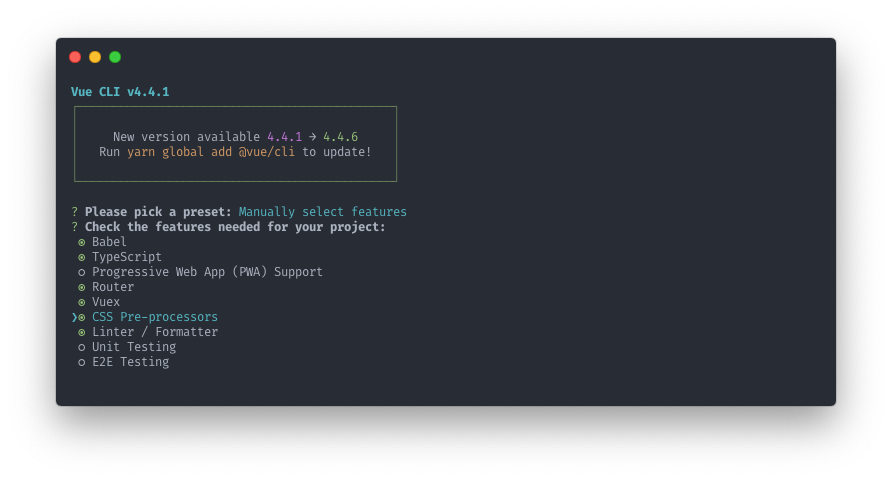
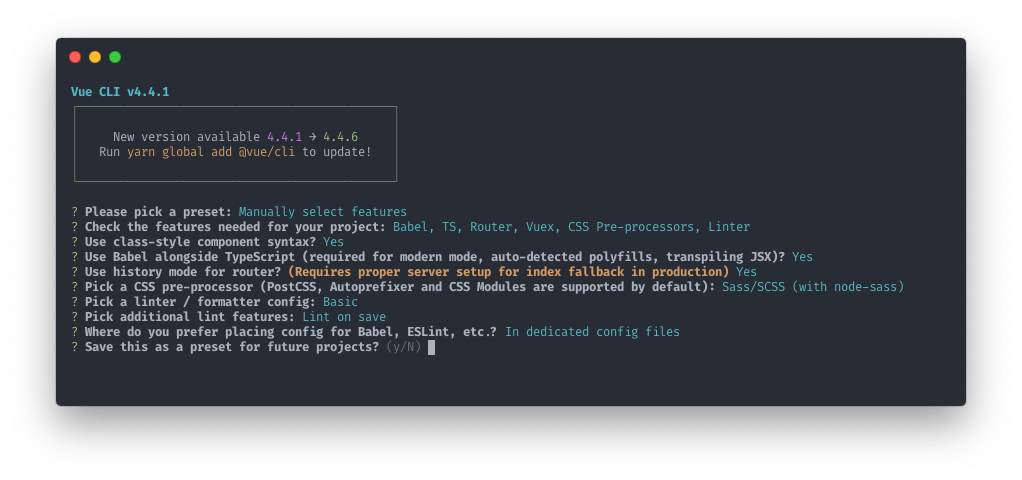
During feature selection we picked:
- Babel
- TypeScript
- Router
- Vuex (state management library)
- CSS Pre-processors (we're going to use SCSS)
- Linter / Formatter
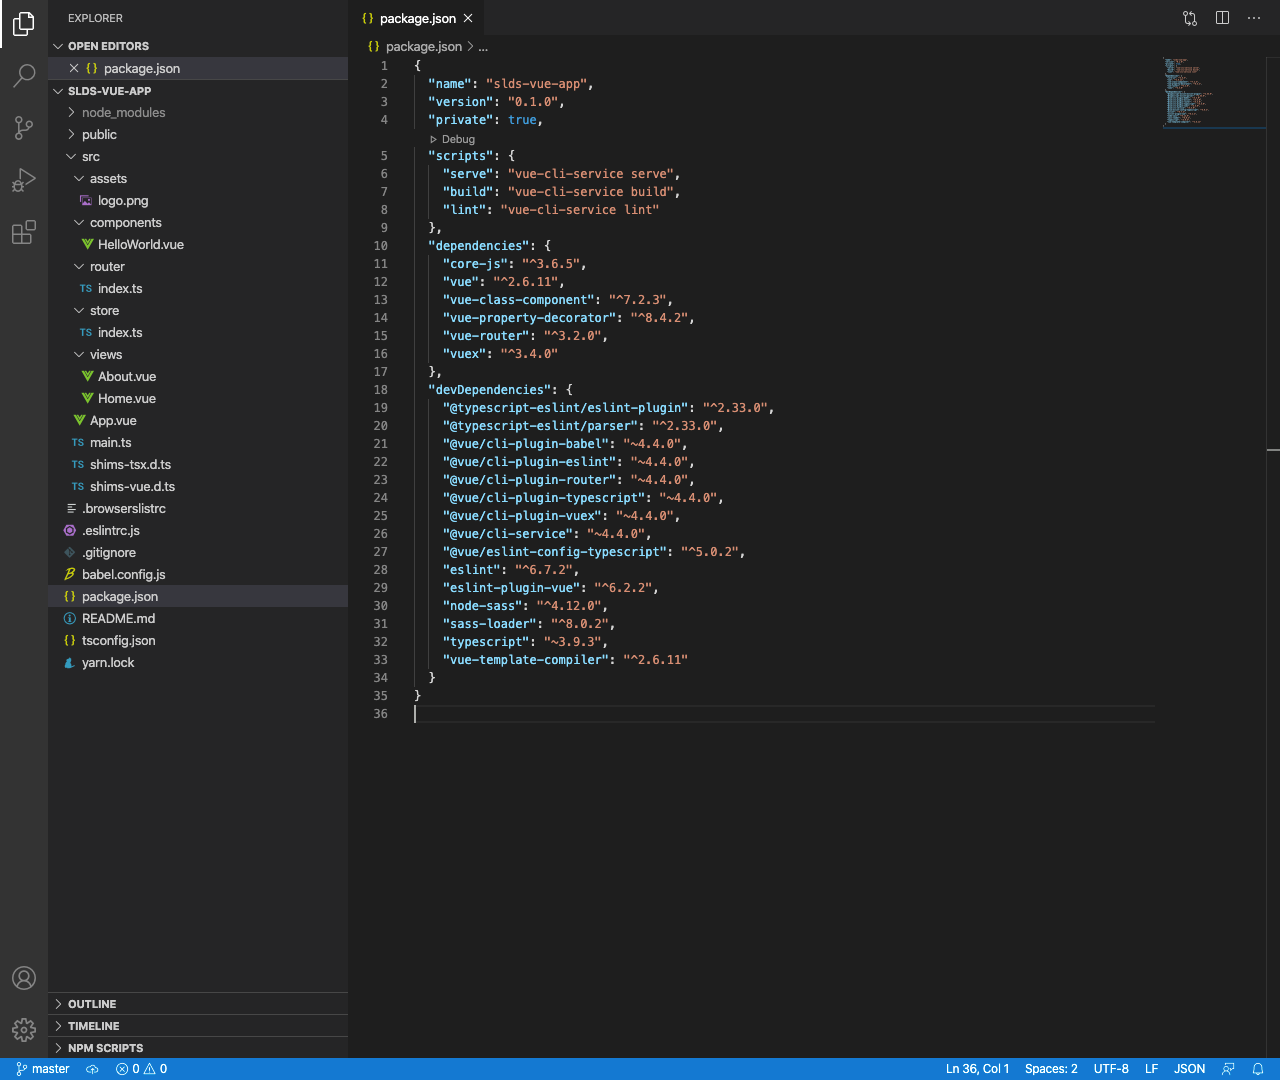
Of course your selection may differ, but this is what I went with. If we open folder which was created with vue-cli we will get structure like this.
That was awfully long intro of how to create Vue.js app with CLI, but where is SLDS?
No worries, with baseline in place, we can finally start putting things together!
First of all, we need to install SLDS package.
yarn add @salesforce-ux/design-system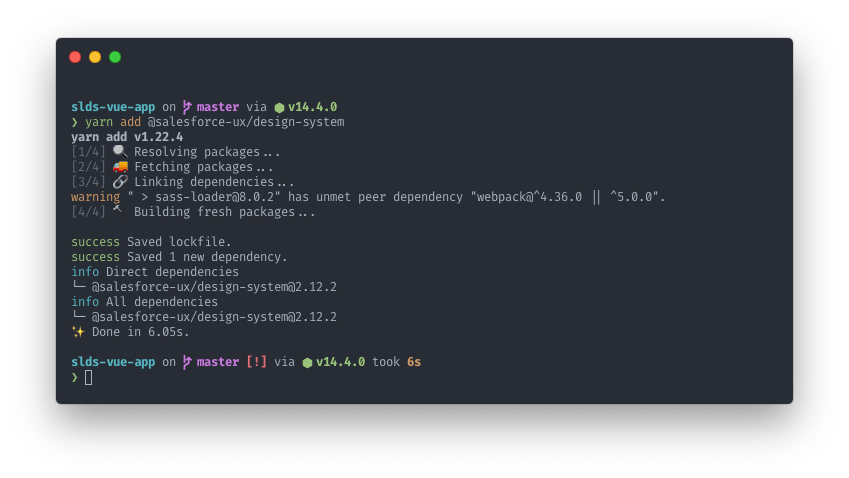
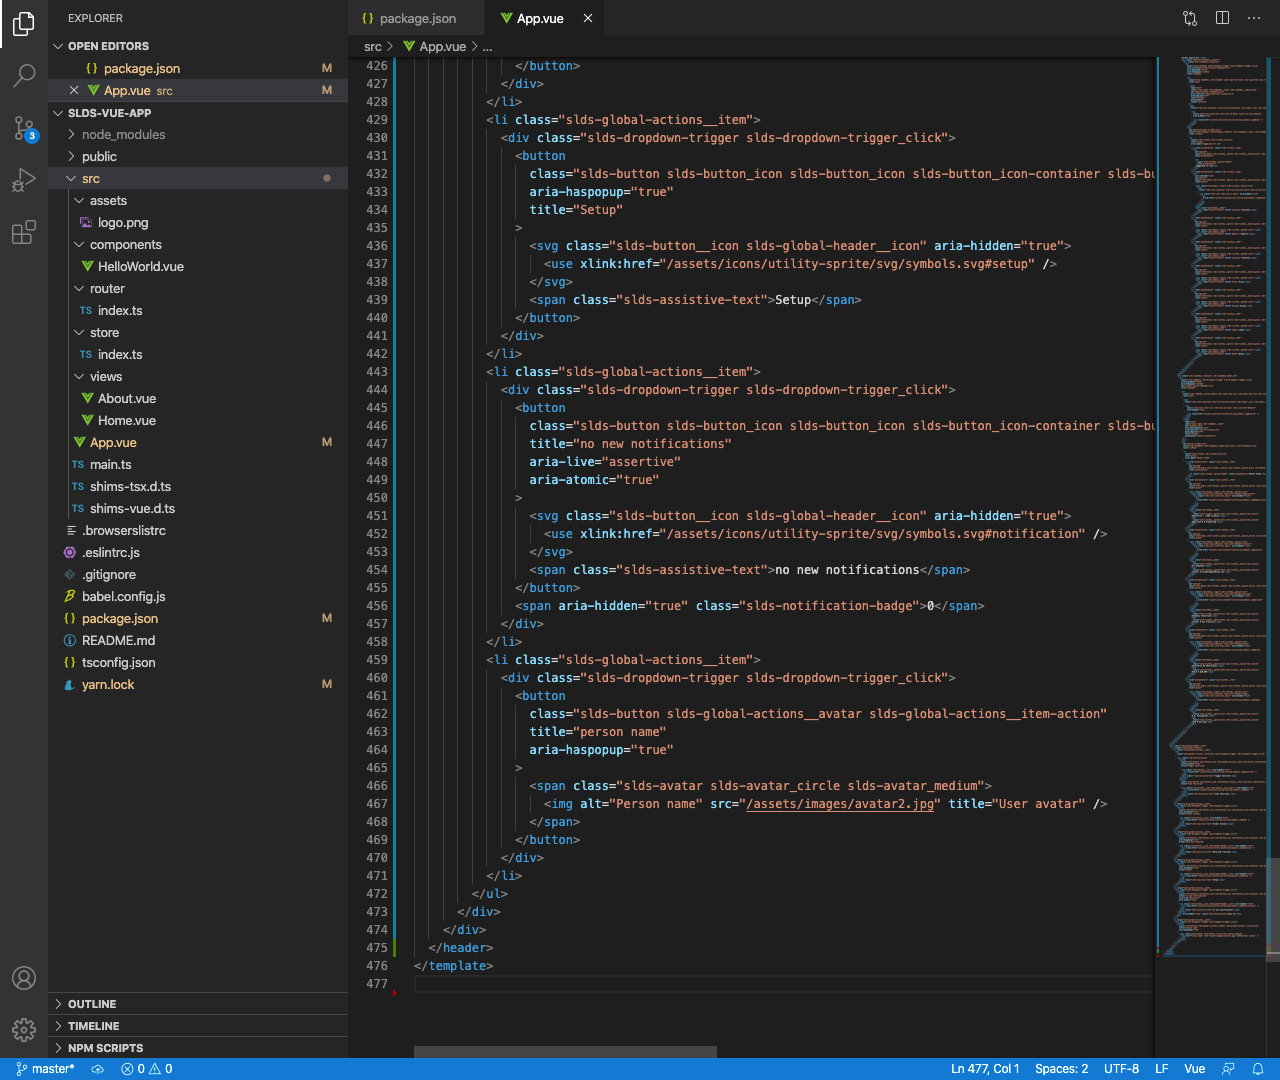
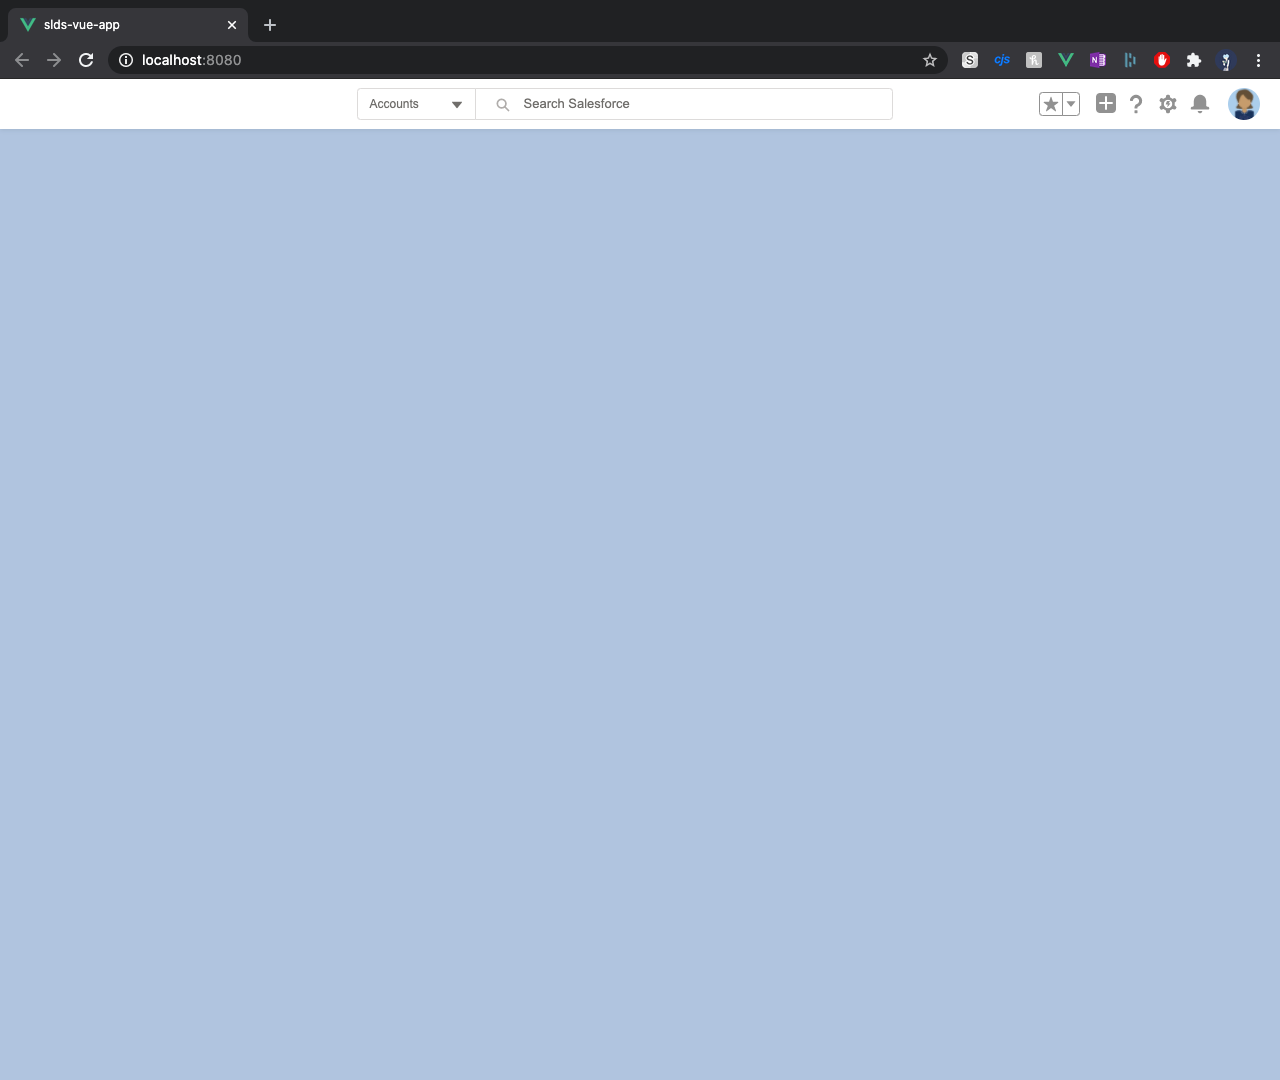
I will copy-paste Global Header #Base from SLDS Component Blueprints into main App component (src/App.vue), so that we can track our progress. After pasting it, we can hit serve and see the result.
Perfect... ship it!
Nah... just kidding :).
We didn't wire any of the styling into our app, that's why it looks terrible. Lets go now and do that!
Right below the template tag, we will add style tag with import from SLDS node package.
<style lang="scss">
@import '@salesforce-ux/design-system/scss/index.scss';
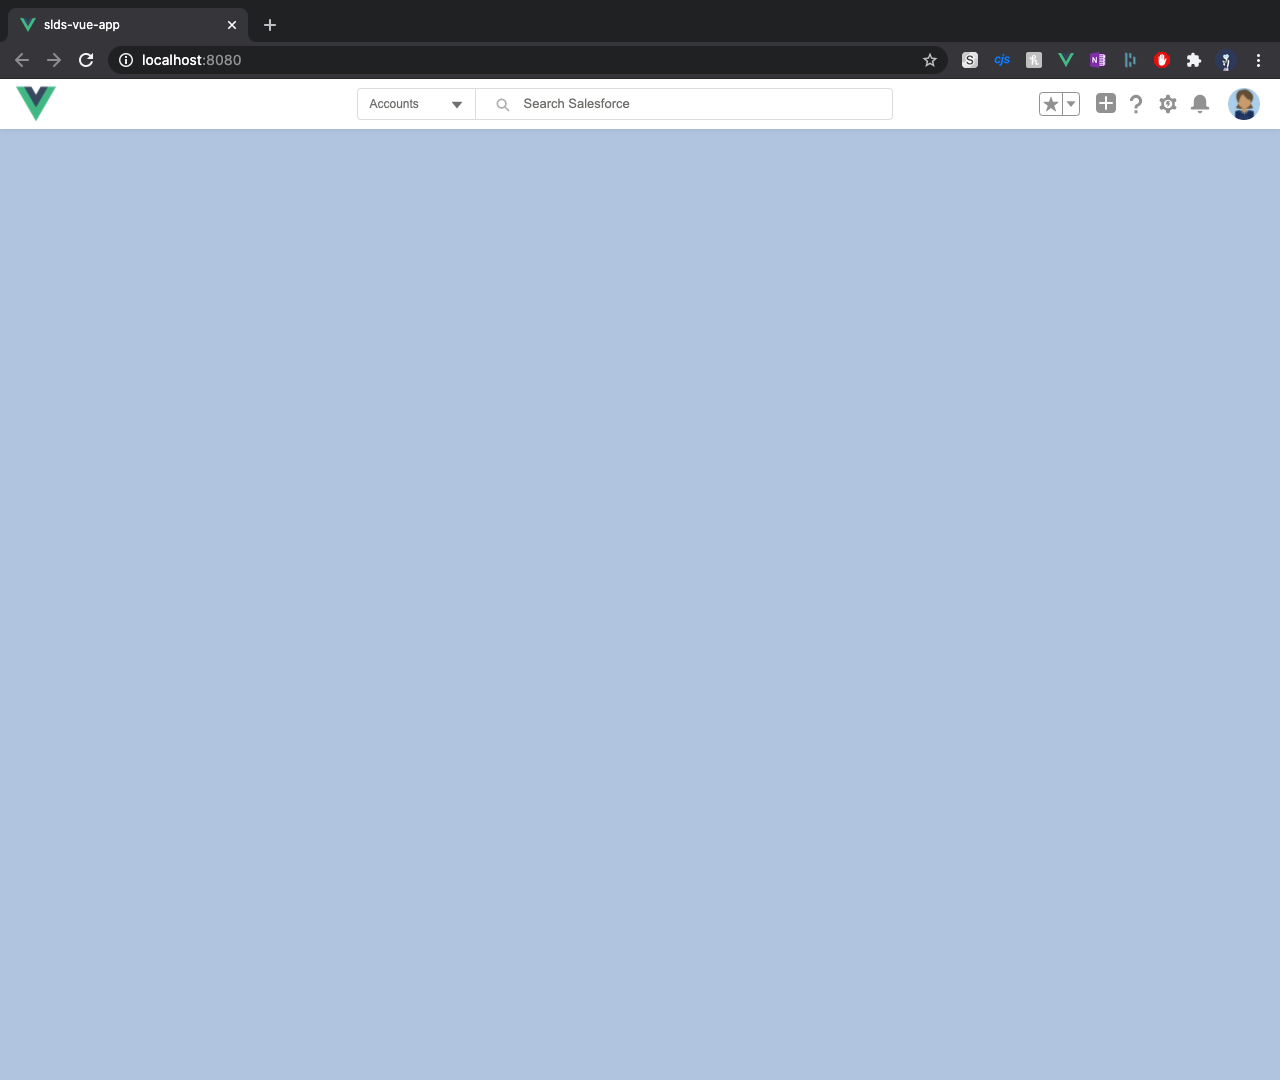
</style>If you hit save now, Vue will try to recompile it. However it will fail since it will not be able to find fonts. To add them, we will need to change sass variable $static-font-path from default path to correct one.
<style lang="scss">
  $static-font-path: '/assets/fonts/webfonts';

  @import '@salesforce-ux/design-system/scss/index.scss';
</style>
If we hit save, it should compile without any issue. Result below...
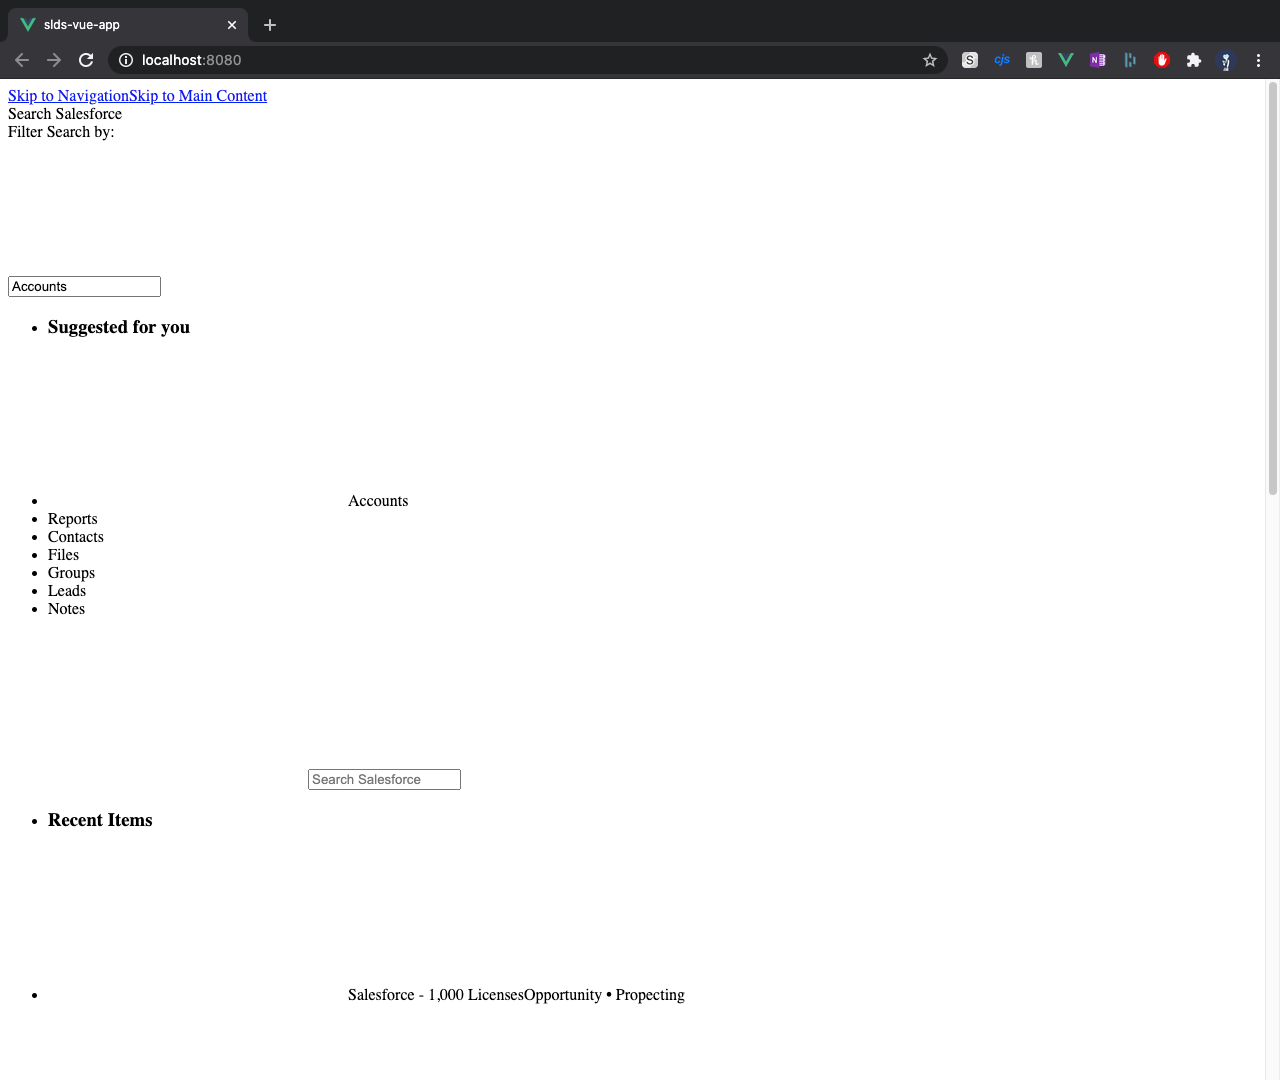
As you might see, we're missing couple of things. Namely:
- Logo
- Icons
- Images
This is due to component blueprint is assuming that we have these resources in our assets folder. We can either copy them over, or properly wire them (and let others to do the magic).
So, every time there is relative path to any asset, we need to change it to package path.
<svg class="slds-button__icon slds-global-header__icon" aria-hidden="true">
    <use xlink:href="/assets/icons/utility-sprite/svg/symbols.svg#notification" />
</svg>
From above, to what is below...
<svg class="slds-button__icon slds-global-header__icon" aria-hidden="true">
<use xlink:href="@salesforce-ux/design-system/assets/icons/utility-sprite/svg/symbols.svg#notification" />
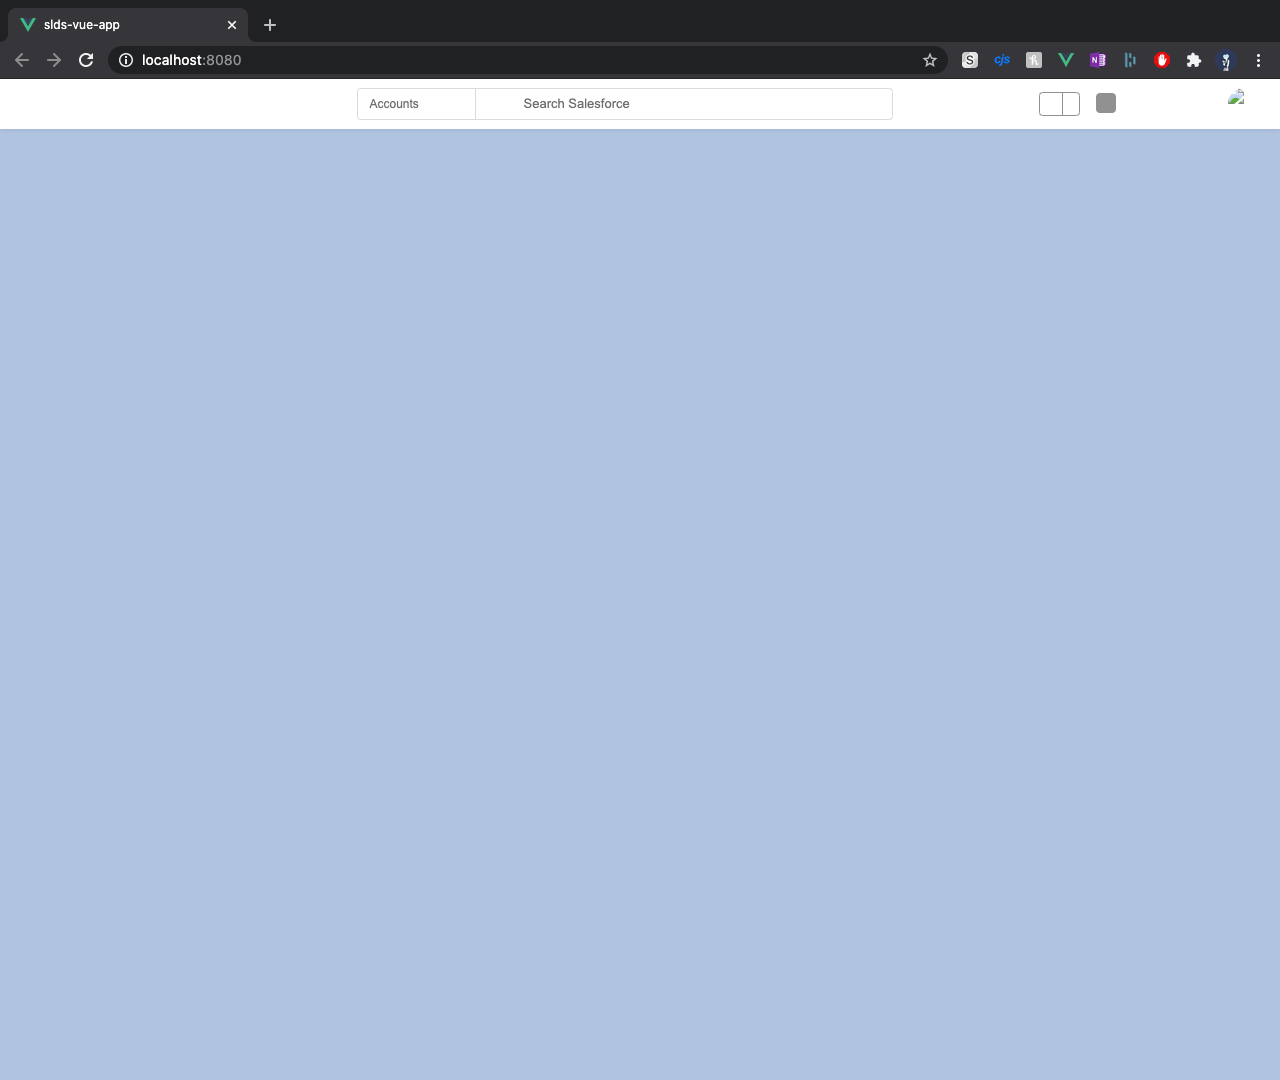
</svg>After save, we have icons and images working!
Now, only thing is missing is the Logo. Logo path is defined in style and because we're compiling stylings, we can simply change another sass variable. This time the variable name is $brand-logo-image.
<style lang="scss">
  $static-font-path: '/assets/fonts/webfonts';
  $brand-logo-image: 'assets/logo.png';

  @import '@salesforce-ux/design-system/scss/index.scss';
</style>
We will reuse asset logo we've got from CLI and this is result.
And that's it... now we can start writing code and building our application!
Timesaver
If you want to save time or you're just tired of typing @salesforce-ux/design-system/ before every asset you want to use, then I have a good news for you. We can create alias for resources in WebPack config, so that we don't have to write that every time. Here is how to do it...
All sub-modules in Vue can be setup thru vue.config.js file in root of our project directory.
module.exports = {
    configureWebpack: {
        resolve: {
            alias: {
                slds: '@salesforce-ux/design-system'
            }
        }
    }
}
Above code will tell WebPack to make alias slds for @salesforce-ux/design-system. And now we can just use ~slds in code and WebPack will substitute that for us!
Hope you like another kick-start project.
As usual, you can find all the code here >> https://github.com/Dhanielk/slds-vue-app
Cheers! 🍻